
Reviewed · WORKSHOPS
Amsterdam Photography Masterclass – Private Photography Lesson
Amsterdam Photography Masterclass
Amsterdam’s best photographs often come from simple subjects: a narrow canal, a leaning house, a bridge reflected in dark water. This private photography lesson gives you time to work those subjects with a professional photographer instead of rushing past them. You visit nine locations, from Amsterdams Lieverdje to the Magere Brug, while learning how to use your own camera.
I like the one-to-one teaching and the route’s variety. In three hours, you move from intimate streets and courtyards to broad views of the Amstel, and your guide can adjust the lesson to your skill level. I also like the choice of daylight or evening, especially since night photography was a turning point for one participant who had never managed it before.
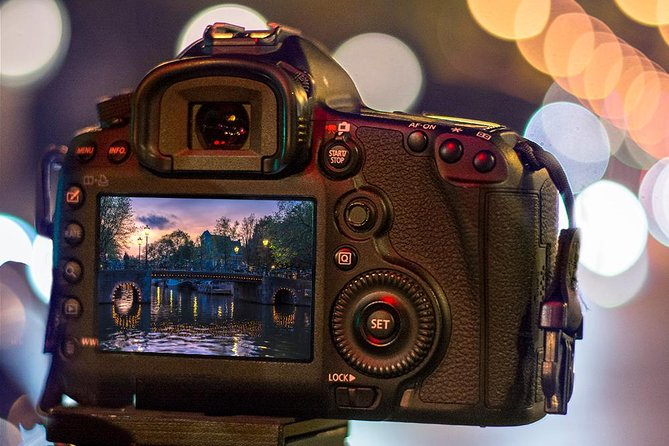
The main catch is the price: $204.24 per person is a serious spend, particularly for one person. It makes more sense for a small private group of up to four, or for anyone who wants hands-on instruction rather than a standard sightseeing walk. Bring your own DSLR camera, and ask ahead if you need a tripod.
Key points before you book
- Nine Amsterdam photo stops: Cover canals, bridges, museums, squares, and historic buildings in one focused session.
- Private instruction: Only your group participates, with a maximum of four people per booking.
- Practical camera help: Expect guidance with settings, night photography, composition, and the capabilities of your own camera.
- Day or evening timing: Choose the light that best fits your interests and schedule.
- Professional guides: Renzo and William are among the photographers who have led these lessons.
- Weather-proof planning: The session runs in all weather, so dress for Amsterdam’s conditions.
What the three-hour lesson is really like
This is not just a photo walk with a few tips added. The useful part is the combination of sightseeing and instruction. You reach a recognizable Amsterdam scene, then have time to frame it, adjust your settings, and take several attempts while your guide watches your progress.
That matters if you own a capable camera but still rely on automatic mode. One participant arrived unsure of what the camera could do and left taking night photographs successfully. Another received direct advice on camera settings and came away with stronger shots at several locations.
The private format helps here. With only your group, you can ask basic questions without holding up a larger party. You can also tell the guide what you want to photograph. If you care more about bridges than buildings, or night scenes than daytime views, the session can be shaped around that interest.
The published price is $204.24 per person. For one person, that is costly for three hours. For two, three, or four people who split the planning and teaching value, it becomes easier to justify. Group discounts are also available, though the booking limit is four people.
You need to bring your own DSLR camera. Food and drinks are not included. A tripod may be available if requested, but it is not automatically supplied, so ask before setting out.
More photoshoots around the canals:
- Amsterdam: Private Photoshoot for Couple, Family, or Solo
★ 4.9 · 251 reviews - Amsterdam Canal, Tulip, Windmill Photoshoot | Custom Request
★ 5.0 · 147 reviews - Amsterdam: Foam Photography Museum Admission Ticket
★ 4.2 · 141 reviews
Starting at Leidsekade 97
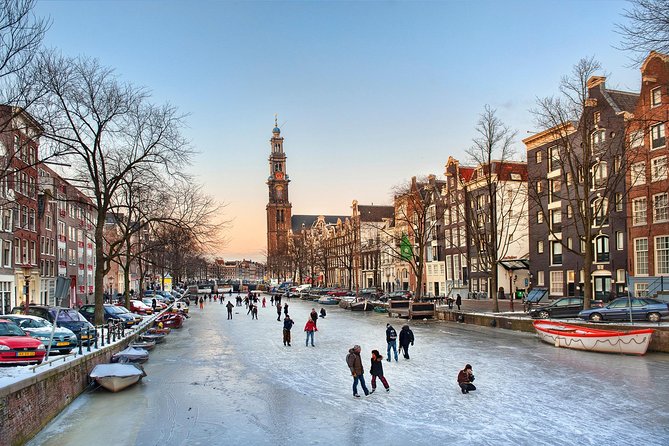
The meeting point is Leidsekade 97, 1017 PN Amsterdam. Check the departure time carefully for your chosen date, since it changes by session.
One participant went to the wrong meeting place, but was able to reach Renzo and get connected with the group. That is a useful reminder to confirm the address before you leave, even though confirmation is issued when you book.
The activity ends back at the meeting point. It is near public transportation, and most people can take part. Service animals are allowed.
Amsterdams Lieverdje: a gentle start
The first stop is the statue known as Amsterdams Lieverdje, with about 20 minutes set aside for photographs. It is a good opening subject because it gives you a clear chance to settle into the camera lesson before the route becomes more varied.
You can expect your guide to help with basic framing and exposure choices here. The statue also gives the session a sense of place straight away, rather than beginning with a technical lecture.
Twenty minutes is enough for practice, but not for endless experiments. If you are new to manual settings, use this first stop to ask how your shutter speed, aperture, and ISO work together. The more comfortable you become early on, the more useful the later stops will be.
Voetboogstraat and the Begijnhof setting
The route then reaches Voetboogstraat, where you photograph the Begijnhof de Voetboogsteeg. This section shifts from an individual monument to a tighter urban scene.
Narrow Amsterdam spaces reward careful composition. You may need to pay attention to lines, doorways, building edges, and the way the available light falls into the passage. Your guide can help you decide what deserves attention inside a scene that may look busy at first.
This is also a useful stop for learning to slow down. The goal is not simply to point your camera at a famous place. It is to find a clean frame and make the setting feel deliberate.
More workshops and classes in Amsterdam:
- Amsterdam: Traditional Dutch Syrup Waffle Making Workshop
★ 4.8 · 4,093 reviews - Amsterdam Traditional Dutch Syrup Waffle Making Workshop
★ 5.0 · 960 reviews - Amsterdam: Bols Cocktail Experience and Cocktail Workshop
★ 4.8 · 666 reviews - Amsterdam: 3-Course Meal in Historic 1st Class Waiting Rooms
★ 4.5 · 292 reviews
Leidsegracht bridges and canal lines
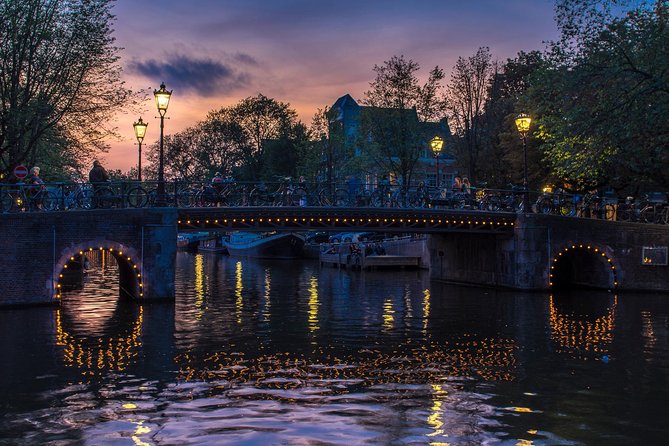
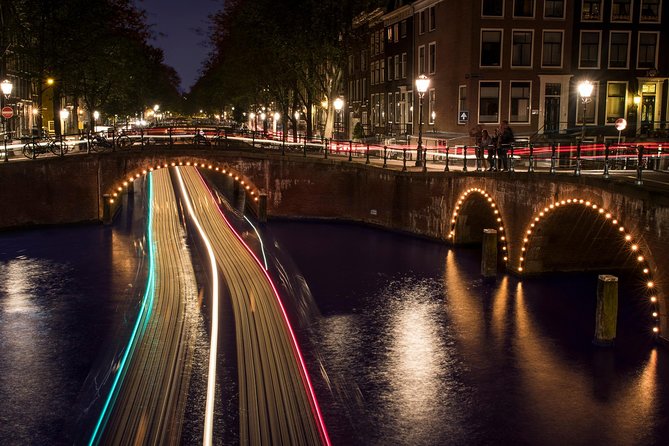
At Leidsegracht, you photograph the bridges along the canal. This is one of the most naturally photogenic parts of the route, since bridges provide strong shapes and the water can add reflections.
Ask your guide to show you how viewpoint changes the picture. A small shift in position can alter the balance between bridge, canal, and surrounding buildings. You can also work on keeping vertical lines under control, a common concern when photographing Amsterdam’s tall, narrow houses.
The guide’s role is particularly useful here because you can compare several possible compositions instead of taking one quick photograph and moving on. The 20-minute stop is focused, so you will need to work with purpose.
Rijksmuseum and its grounds
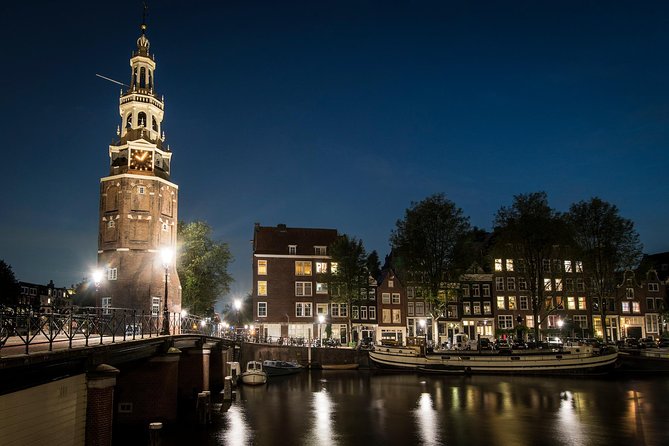
The Rijksmuseum is the largest landmark on the route and gives you a grander subject after the close quarters of the canal streets. You photograph the building and its grounds, not an interior collection visit.
That distinction matters. This is an outdoor photography lesson, so the value here comes from architecture, scale, and surrounding space. Your guide can help you decide how much of the building to include and how to avoid letting a large subject become a flat snapshot.
The grounds also give you room to experiment with perspective. If you are used to photographing small details, this stop asks you to handle a bigger composition. If you already take architectural photographs, it offers a chance to refine balance and framing with direct advice.
Magere Brug and the Amstel
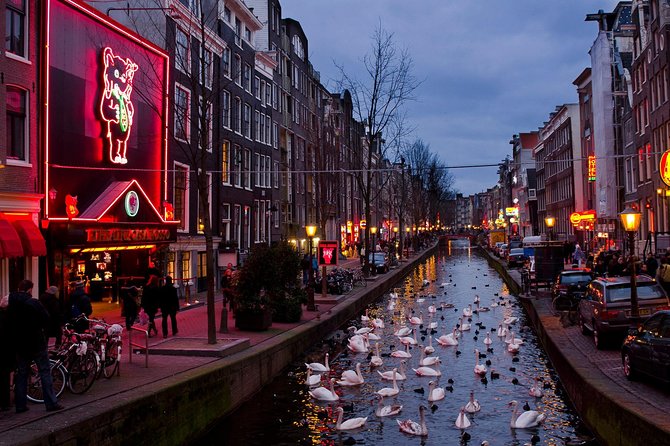
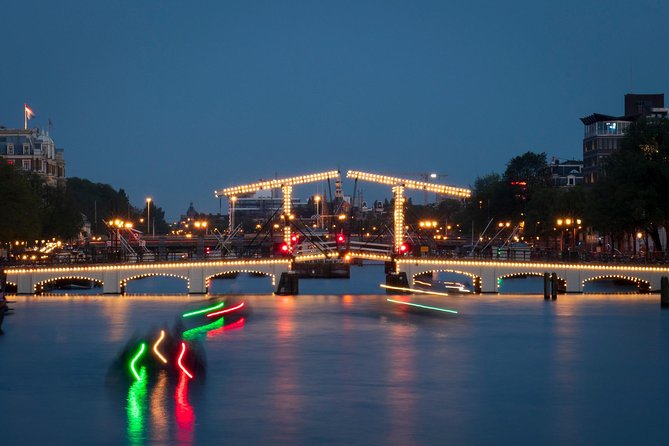
The Magere Brug is paired with the Amstel, giving you one of the route’s broadest views. This is especially appealing for an evening session, when the bridge and water can create a more dramatic subject.
Night photography was a particular focus for one lesson led by Renzo. The participant arrived without success in that area and learned how to use the camera for night scenes during the session. That does not mean every person will leave as an expert, but it does show the practical level of instruction available when you ask for help with a specific problem.
Bring warm clothing if you choose an evening departure. The session runs in all weather, and standing near the water can feel less comfortable than walking through the city center. The reward is a different kind of Amsterdam photograph, with artificial light, reflections, and longer exposures to consider.
Nieuwe Kerk and Blauwbrug
The Nieuwe Kerk provides another architectural subject, while the Blauwbrug returns you to a bridge and water setting. Together, these stops keep the lesson from becoming repetitive.
At the church, you can work on structure and proportion. At the Blauwbrug, you can return to lines, reflections, and wider framing. The sequence lets you test whether a camera adjustment that worked on a building also works on an open view.
Each stop is listed at about 20 minutes. That pace is brisk enough to cover a lot of Amsterdam, but you should not expect a long, unhurried session at every location. If you want extensive coaching at one particular site, tell the guide early so the lesson can reflect that priority.
Nieuwmarkt and Museumhuis Bartolotti
Nieuwmarkt gives the route a public-square setting, with more space and a different visual rhythm from the canals. It is useful for practicing how to simplify a scene when there are several possible subjects competing for attention.
The final stop is Museumhuis Bartolotti. This historic house brings the lesson back to Amsterdam’s narrow, distinctive architecture. It is a good closing subject because it asks you to use many of the skills practiced earlier: framing, perspective, building lines, and careful selection of detail.
Finishing at a specific house rather than another large landmark also keeps the route varied. You leave with practice across several types of subject, not just a collection of similar bridge photographs.
What the guides teach well
The strongest part of the experience is the personal instruction. Guides such as Renzo and William have helped participants understand camera settings, find better locations, and work with night photography.
You should not expect a formal classroom course with a printed syllabus. The teaching happens beside the subject in front of you. That makes the advice immediate: change a setting, alter your position, take another frame, and see the difference.
This approach is best for photographers who want practical help. If you are already highly advanced and want a specialist workshop in a narrow field, ask what the guide can cover before booking. If you are still learning what your DSLR can do, the private format is much more useful than a general group walk.
Daylight or evening: choosing the right session
A daytime departure gives you a straightforward way to work on composition, architecture, and canal scenes. It may suit you best if you are still learning basic settings or want clear views of the buildings and bridges.
An evening departure is more appealing if you want to work on low-light photographs. The Magere Brug and the Amstel can offer strong subjects after dark, and Renzo’s instruction helped one participant achieve night photographs for the first time.
The tradeoff is comfort and technique. Evening sessions can require more patience, careful camera control, and suitable clothing. Since the experience operates in all weather, check the forecast and dress accordingly.
Who will get the most from this experience
I would recommend this lesson to:
- Photographers with a DSLR who want direct help using it
- Couples or small groups who want a private activity
- Beginners who feel unsure about manual settings
- People interested in night photography
- Visitors who want sightseeing combined with a real skill lesson
- Anyone who prefers personal instruction to a large group tour
It may be less suitable if you do not own a camera, since a camera is not included. It is also not the best choice if you want a relaxed sightseeing tour with no technical focus. The three-hour route gives you plenty to see, but the purpose is to improve your photographs.
Booking, weather, and cancellation details
The experience accepts a maximum of four people per booking. It is offered in English, includes a mobile ticket, and confirmation is provided when you book.
Free cancellation is available up to 24 hours before the start time for a full refund. Changes or cancellations made less than 24 hours before departure are not accepted for a refund, and the cut-off uses Amsterdam local time.
Dress for the weather. The activity operates in rain or shine, and a tripod is available only upon request. Food and drinks are not included, so plan around the three-hour duration if you need refreshments.
Should you book this Amsterdam photography lesson?
Book it if you want more than postcard views and are willing to spend for private coaching. The route gives you a useful cross-section of Amsterdam, while the instruction can help you solve real problems with settings, composition, or night photographs.
The value is strongest when two to four people share the experience and arrive with clear goals. Tell the guide if you want to concentrate on low light, bridges, architecture, or simply understanding your DSLR. Skip it if you do not have a camera or want a cheap, casual city walk.
For the right photographer, this is a practical way to see Amsterdam and come home with better control of the camera, not just more pictures.
FAQ
How long does the Amsterdam Photography Masterclass last?
The private lesson lasts approximately three hours.
Where does the activity start?
It starts at Leidsekade 97, 1017 PN Amsterdam, Netherlands.
Where does the activity end?
The experience ends back at the meeting point.
How many people can join one booking?
A maximum of four people can participate in one booking.
Is the tour private?
Yes. Only your group participates in the activity.
Is a camera included?
No. You should bring your own DSLR camera.
Is a tripod provided?
A tripod may be available upon request. It is not listed as standard equipment.
Can I choose a daytime or evening departure?
Yes. You can choose between daytime and evening tours, with the exact departure time depending on the date selected.
What is the cancellation policy?
You can cancel up to 24 hours before the start time for a full refund. Cancellations or changes made less than 24 hours before the experience are not accepted for a refund.
Newest Amsterdam write-ups
- Amsterdam Airport Private Arrival Transfer by Luxury Van★ 5.0 · 80 reviews
- Arrival Private Transfer Amsterdam Airport to Amsterdam City Center by Minibus★ 4.5 · 7 reviews
- Private Amsterdam WW2 walking tour★ 4.5 · 15 reviews
- Anne Frank and Jewish Culture Private Walking Tour in Amsterdam★ 4.5 · 38 reviews
- 2-Hour Private Anne Frank Walking Tour with Drink★ 5.0 · 3 reviews
- Amsterdam: Guided Red Light District and City Walking Tour★ 4.5 · 15 reviews
- Amsterdam: Van Gogh Museum Entrance and Guided Tour★ 3.5 · 3 reviews
- Private Amsterdam Red Light District tour with food tastings★ 5.0 · 6 reviews
Workshops, compared.
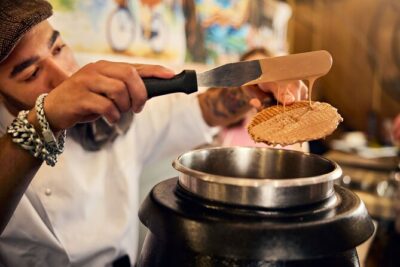
Traditional Dutch Syrup Waffle Making Workshop
Read our review →Amsterdam Traditional Dutch Syrup Waffle Making Workshop
Read our review →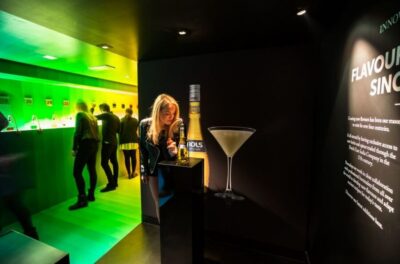
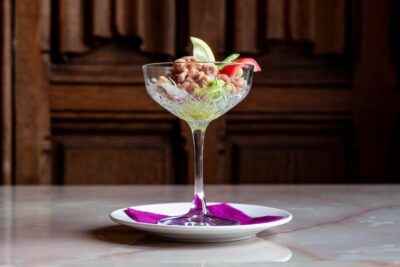
3-Course Meal in Historic 1st Class Waiting Rooms
Read our review →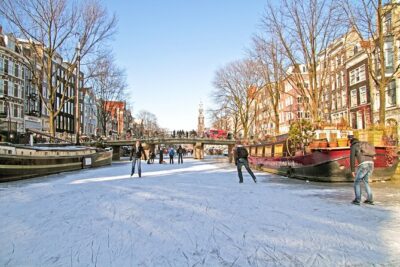
Amsterdam Light Festival Winter Walk with Stroopwafel Workshop
Read our review →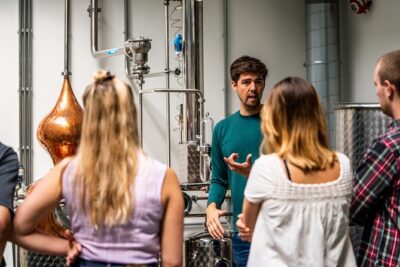
Distilling Class @ Spirited Union Rum Co. (Amsterdam)
Read our review →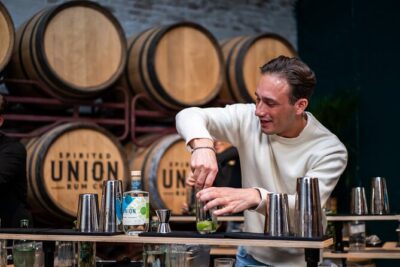
Cocktail workshop @ Spirited Union Rum Co. (Amsterdam)
Read our review →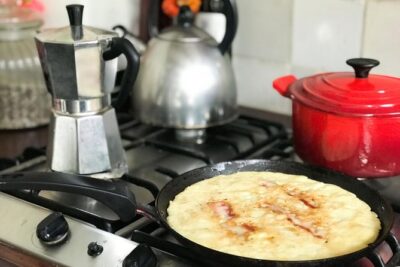
Private Dutch Pancake Cooking Class in an Amsterdam Canal Home
Read our review →Browse the lists this tour appears in